MuseBox: getting started
This tutorial takes you from a new MuseBox board to your own AI pipelines and your own models. Follow the chapters in order the first time.
| # | Chapter | Where | What you do |
|---|---|---|---|
| 1 | The board | PC → board | write the MuseBox image on a microSD card, connect the board, find its address, log in |
| 2 | Activating the license | board | get the license.lic for your board (once) |
| 3 | Starting the AI server | board | start the C++ or the Python server, update it |
| 4 | The No-Code Flow Editor | PC (browser) | build and run a pipeline by dragging nodes |
| 5 | Running a flow from your code | PC | run the same pipeline from Python or C++ |
| 6 | Your own models | PC → board | package a model with the MuseBox Compiler and use it |
Boards
| Board | AI accelerator | Status |
|---|---|---|
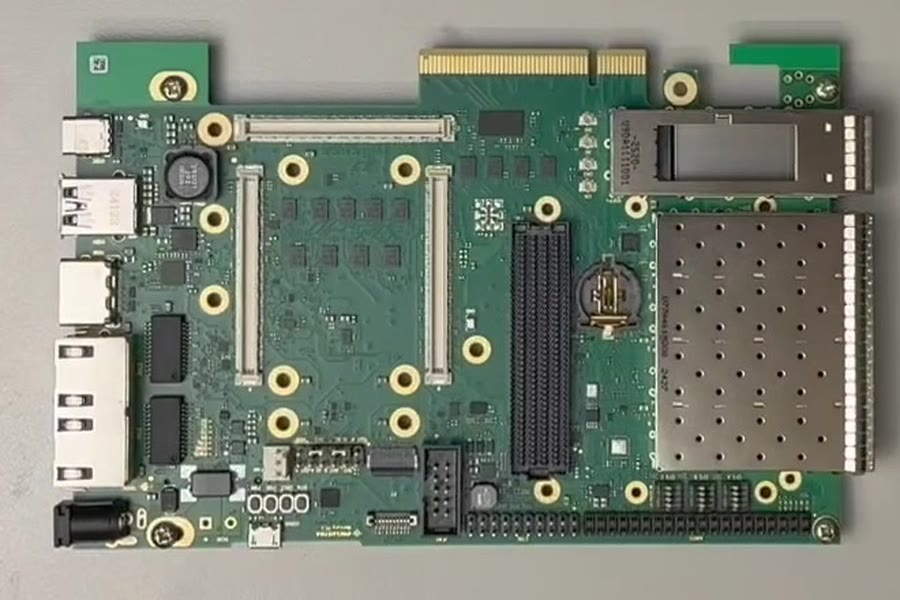
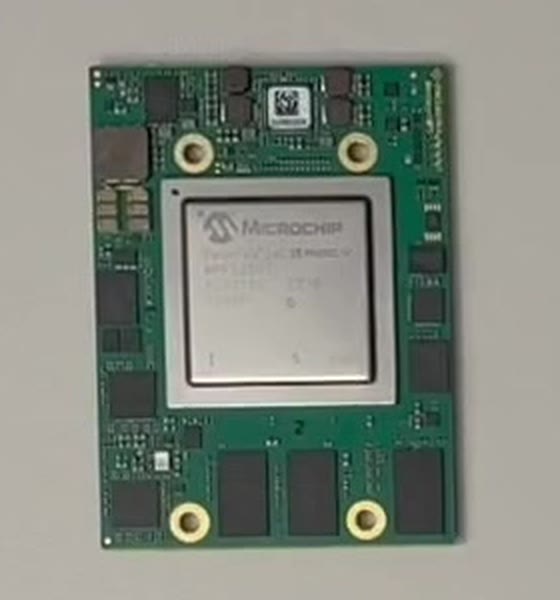
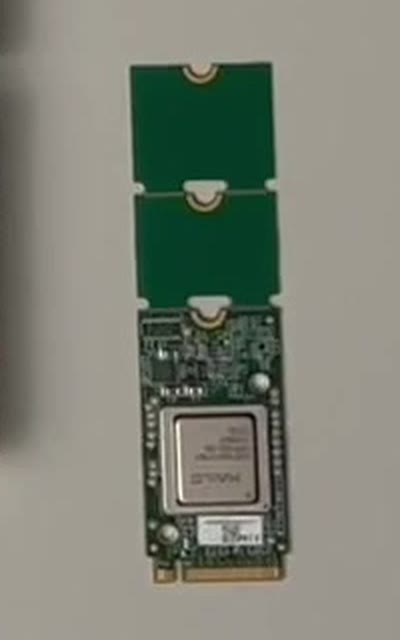
| Mercury+ PE3 Hailo-8: Mercury+ PE3 base board + Mercury+ MP1 module | Hailo-8 | available: this documentation |
| Mercury+ AMD Hailo-8 | Hailo-8 | coming soon |
| Mercury+ AMD DeepX | DeepX | coming soon |
| Pluto Hailo-8 | Hailo-8 | coming soon |
| Pluto DeepX | DeepX | coming soon |
Where a step depends on the board, the documentation shows one tab per board. Choosing a board in one tab selects it in all the others.
How MuseBox is made
              PC                                          MuseBox board
┌────────────────────────────────┐            ┌─────────────────────────────────────┐
│ No-Code Flow Editor (browser)  │──┐         │ MuseBox AI Server (C++ or Python)   │
│   build pipelines visually     │  │ network │   runs the models on the board NPU  │
│                                │  ├────────▶│   (WebSocket, ZeroMQ, MQTT,         │
│ MuseBox Client (Python / C++)  │──┘         │    RabbitMQ, ROS 2)                 │
│   run pipelines from your code │            │                                     │
│                                │    ssh     │ ai_models/   built-in + your models │
│ MuseBox Compiler (mbx-compile) │───────────▶│ config/      settings, license      │
│   package and deploy models    │            │ camera (optional)                   │
└────────────────────────────────┘            └─────────────────────────────────────┘
- On the board, already installed: the MuseBox AI Server, the built-in models (
ai_models/) and the settings (config/). The server receives images, runs the AI models and sends back the results. It comes in two versions, which share the same engine, models, settings and license (you run one at a time):- the C++ server, a program: the default, for the editor and the clients;
- the Python server, the
musebox_aipackage: the same server started from Python, which also lets your own Python scripts on the board call the models directly.
- On the PC, you download:
- the No-Code Flow Editor: a web page where you build a pipeline (input → AI tasks → output) and see the results live;
- the MuseBox Compiler (
mbx-compile): turns your own model (.hef,.tflite,.onnx) into a MuseBox package and copies it to the board; - optionally the MuseBox Client: runs the pipelines you saved from the editor inside your own Python or C++ application.
The board and the PC must be on the same network (or the PC must reach the board's IP address).
What you need
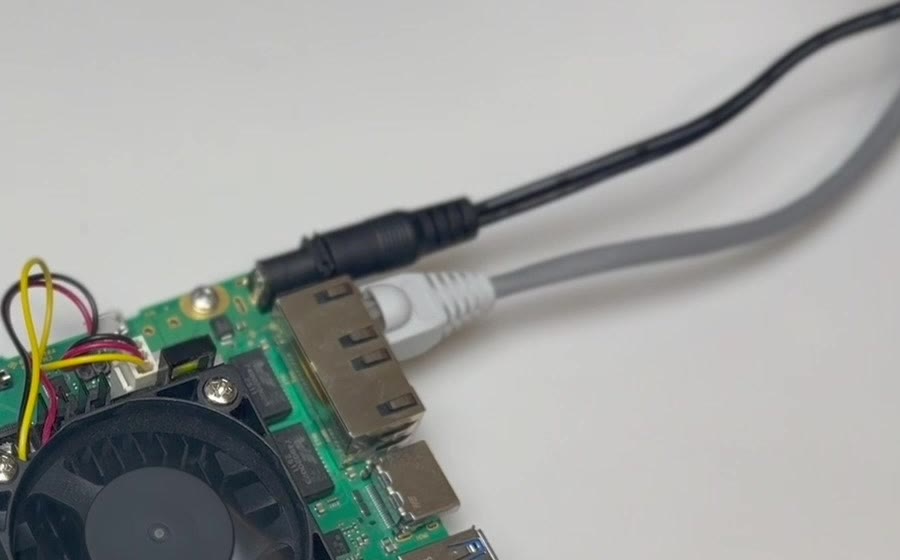
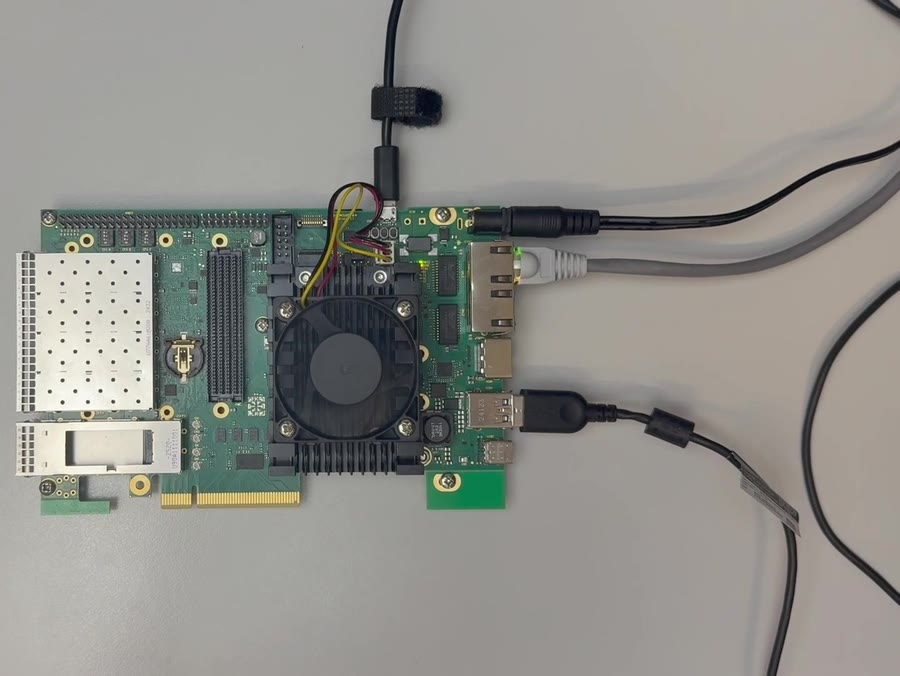
The photos show the Mercury+ PE3 Hailo-8. Chapter 1 shows how to put the parts together.
Supplied with MuseBox
What you add
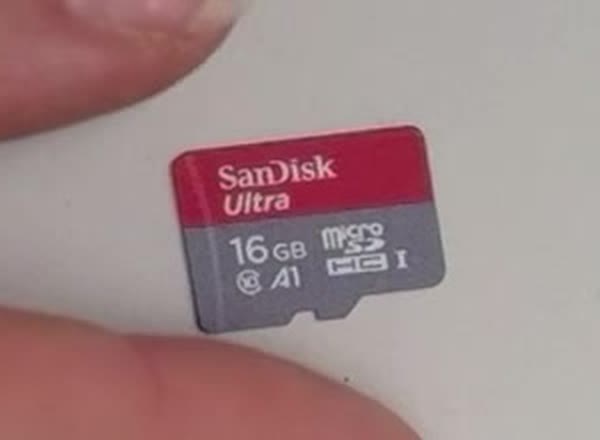
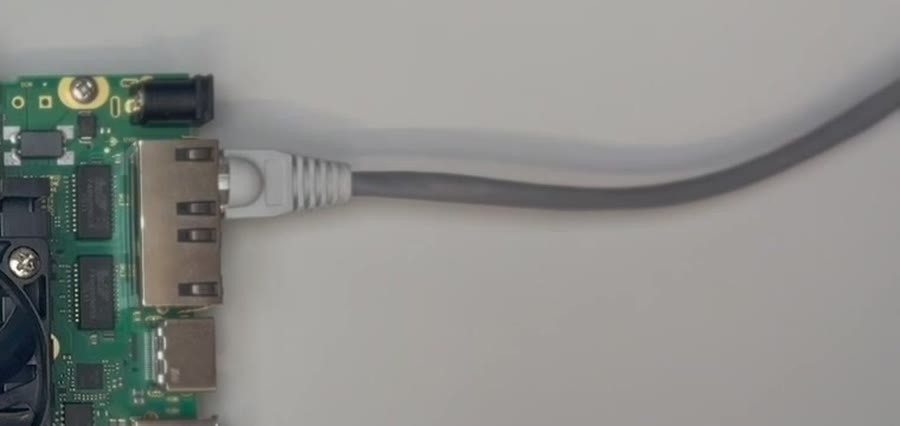
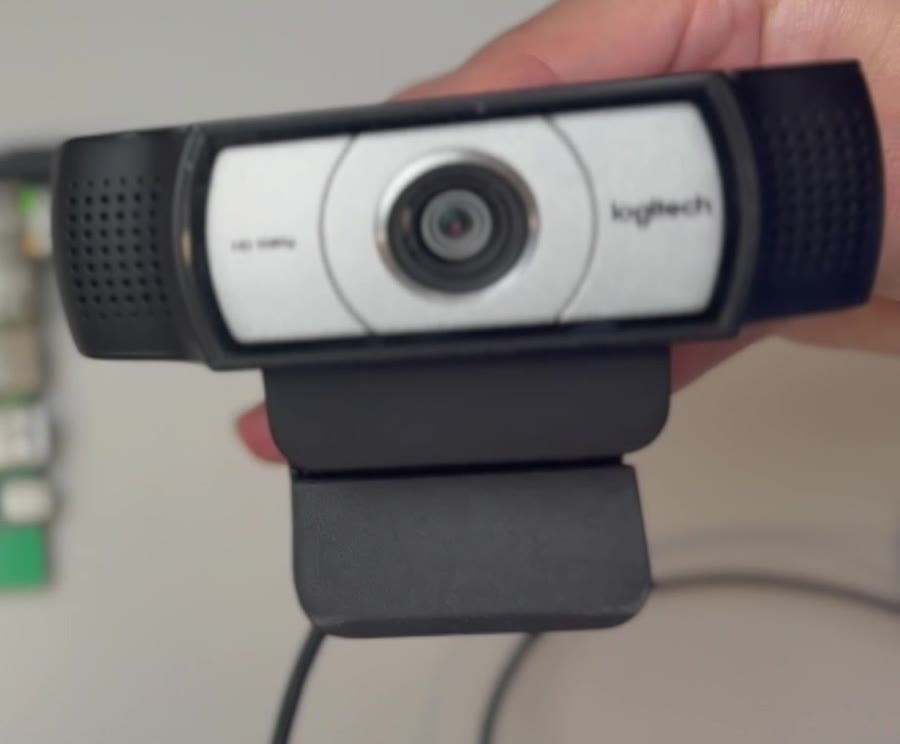
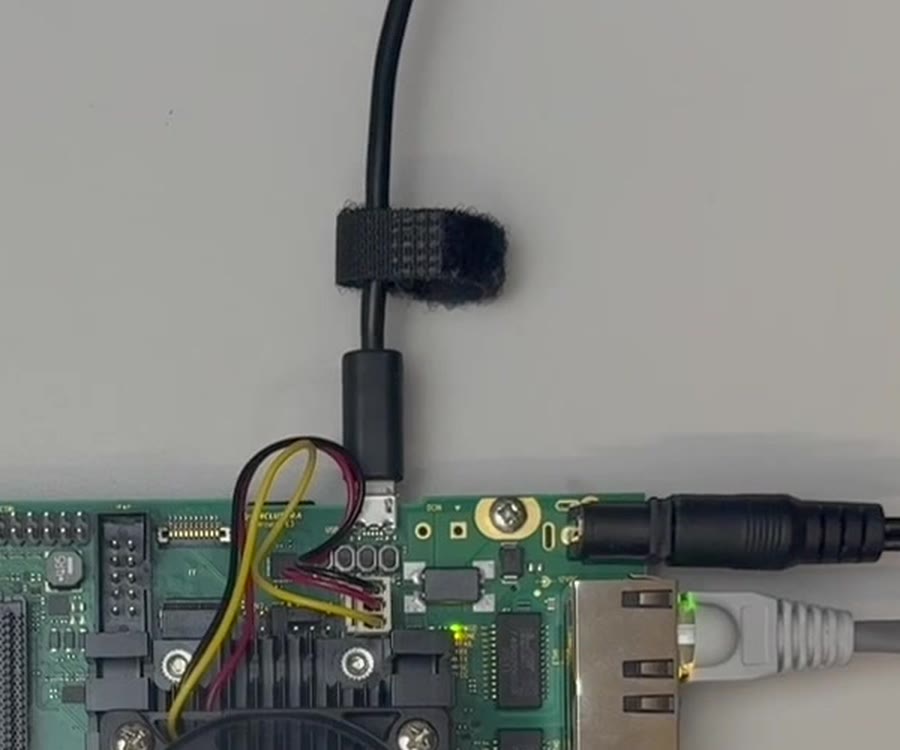
And a PC with Linux, macOS or Windows, Python 3.8 or newer and Chrome or Firefox, on the same network as the board.
Conventions
<board-ip>is the IP address of your board (chapter 1 shows how to find it).- Commands in
board$blocks run on the board, asroot; commands inpc$blocks run on your PC. /root/musebox-ai-serversis the MuseBox folder on the board.